Scripts & Storyboarding
How to Use an AI Storyboard Generator to Turn a Script Into Shots
A practical, step-by-step guide to using an AI storyboard generator: break a script into shots, set a consistent style, refine camera angles, and plan clips before you render video.
By MakeFilms Editorial · 6 min read ·
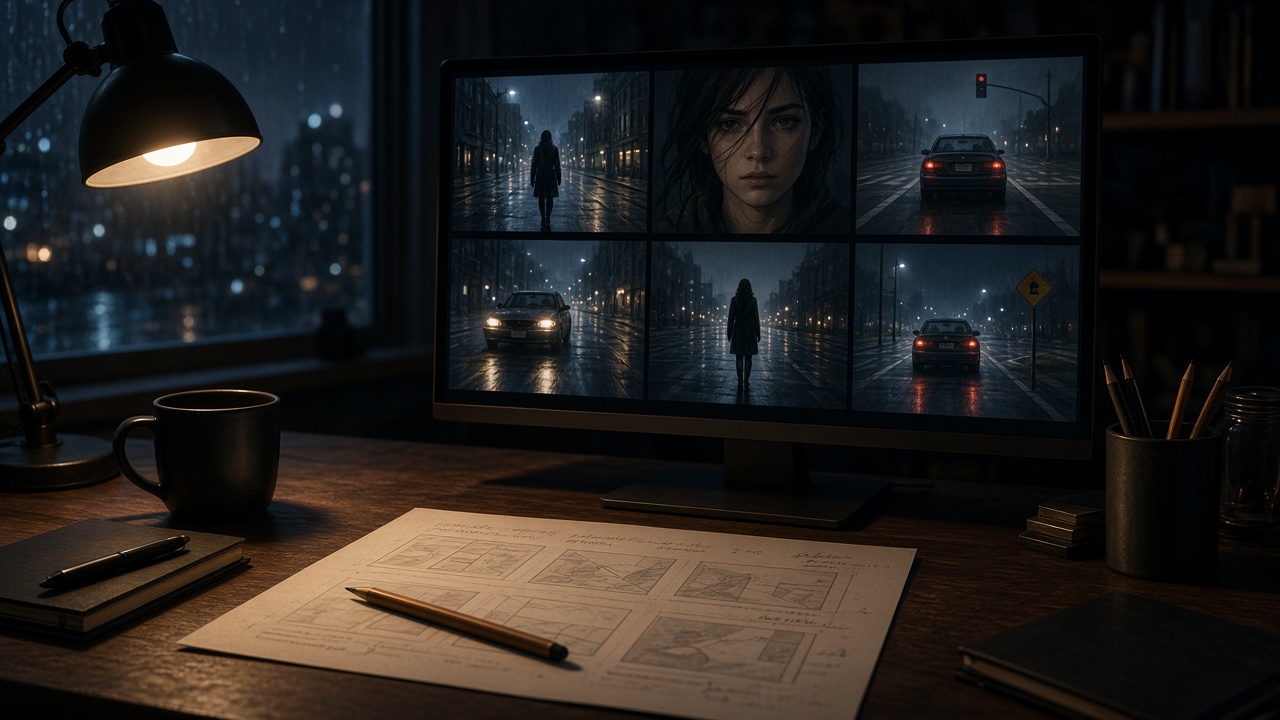
An AI storyboard generator turns the words in your script into a sequence of visual shots you can actually look at, rearrange, and judge before you spend time or money on a single frame of video. For independent filmmakers, that step used to mean hiring an artist or sketching stick figures at midnight. Now you can go from a scene description to a shot-by-shot plan in minutes. This guide walks through how to use one well, what to watch out for, and how a storyboard fits into a full script-to-video workflow.
What an AI storyboard generator actually does
A traditional storyboard is a set of panels, one per shot, showing framing, composition, and the key action. An AI storyboard generator reads a written scene and proposes those panels for you. Good tools do more than draw pretty pictures. They break a scene into individual shots, suggest a camera angle and shot size for each, and keep characters and locations consistent from panel to panel.
The point isn't to replace your judgment as a director. It's to give you something concrete to react to. It is much easier to say "that should be a close-up, not a wide" when you can see the wide shot sitting there on screen.
Why storyboard before you generate video
AI video generation costs something every time you render a clip, whether that's credits, money, or just waiting. Skipping the storyboard is like shooting without a shot list: you burn resources on takes you'll never use. A storyboard helps you:
- Catch pacing problems early. If a two-line exchange somehow became nine shots, you'll see it immediately.
- Lock visual continuity. Wardrobe, lighting, and time of day are easier to keep consistent when every shot is laid out side by side.
- Control cost. You only render the shots you've approved, instead of experimenting blindly.
- Communicate your vision. A board is far easier to share with a collaborator, client, or producer than a paragraph of description.
Step-by-step: from script to storyboard
1. Start with a clean, specific scene
The generator can only work with what you give it. Write your scene with clear sluglines (INT. DINER – NIGHT), name your characters consistently, and describe visible action rather than inner thoughts. "Maya slides the phone across the table, screen up" is something a camera can show. "Maya feels betrayed" is not, at least not without help.
If you're starting from an idea rather than a finished script, it helps to draft a short scene first. Even a half page gives the generator enough structure to propose meaningful shots.
2. Let the tool break the scene into shots
Run the scene through the generator and look at the shot breakdown before you look at the images. Ask yourself whether each shot earns its place. A typical dialogue scene might open on an establishing wide, move to a two-shot, then alternate over-the-shoulder singles, with a close-up saved for the emotional beat. If the breakdown doesn't follow a logic you'd defend, adjust it now.
3. Set the look with a style preset
Before you refine individual panels, decide on the overall look. Style presets let you apply a consistent genre, era, and mood across the whole board, so a noir thriller doesn't drift into a bright sitcom halfway through. Pick the preset first, then tweak shots inside it. Changing the global style after you've fine-tuned twenty panels is a lot more work.
4. Refine camera angles and framing
This is where your directing instincts matter most. For each panel, check:
- Shot size. Wide shots establish geography, mediums carry dialogue, close-ups carry emotion.
- Angle. Low angles make a character feel powerful, high angles make them feel small or watched. Eye level is neutral.
- Screen direction. Keep characters on consistent sides of the frame so cuts don't feel disorienting (the 180-degree rule).
- Movement. Note whether the camera pushes in, tracks, or stays locked off. Movement should have a reason.
5. Review the board as a sequence
Flip through the panels in order, ideally while reading the dialogue aloud. You're looking for rhythm. Does the tension build? Is there a moment that needs a pause, a reaction shot, or an insert of an object? Many directors find their best ideas at this stage, because watching the sequence reveals gaps the script hid.
Common mistakes to avoid
- Over-describing every panel. Long prompts often produce cluttered frames. Describe the essential subject and action, then let style settings do the rest.
- Ignoring continuity. If a character's jacket changes color between panels, fix it on the board. It will be much harder to fix in video.
- Too many shots. More shots don't automatically mean better coverage. Every cut should do a job.
- Treating the first draft as final. The first pass from any AI storyboard generator is a starting point. Iterate.
From storyboard to finished film
The real payoff comes when your storyboard feeds directly into video generation. Instead of exporting images and re-describing every shot in a separate tool, a connected workflow lets each approved panel become a generated clip, using the same framing, characters, and style you already locked in. That's the idea behind script-to-video: the script, the board, and the final clips stay linked from start to finish.
In MakeFilms, that workflow is guided by the AI Director. You describe your idea or paste a script, and the Director helps shape the scenes, proposes shots with camera angles, and builds a storyboard you can review and adjust. You can apply style presets for a consistent look, choose between multiple video models for different shots, and see the credit cost of each clip before you generate it. Scenes are approved one at a time, and clips can be assembled into films up to 30 minutes long.
If you want a deeper look at the storyboard tool itself, our AI storyboard generator page covers how it works, and the AI filmmaking software overview explains how the pieces fit together. For background on what we're building and why, read the MakeFilms grand opening post, or browse more guides on the MakeFilms blog.
Quick checklist
- Write a clear scene with visible action and consistent character names.
- Review the shot breakdown before the images.
- Choose a style preset before refining panels.
- Check shot size, angle, screen direction, and movement for every panel.
- Read the board in sequence and fix rhythm and continuity issues.
- Generate video only for the shots you've approved.
Try it on your next scene
The fastest way to learn storyboarding with AI is to do it with a scene you care about. Take one page of your script, run it through the AI Director, and see how the board changes the way you think about the shots. Start a project in MakeFilms, or check plans and pricing to pick the one that fits your work.