Tutorials & Guides
Script to Video: From Screenplay to Finished AI Film
A practical script to video workflow: write a shootable scene, storyboard with the AI Director, approve credit cost per shot, and assemble clips into films up to 30 minutes.
By MakeFilms Editorial · 6 min read ·
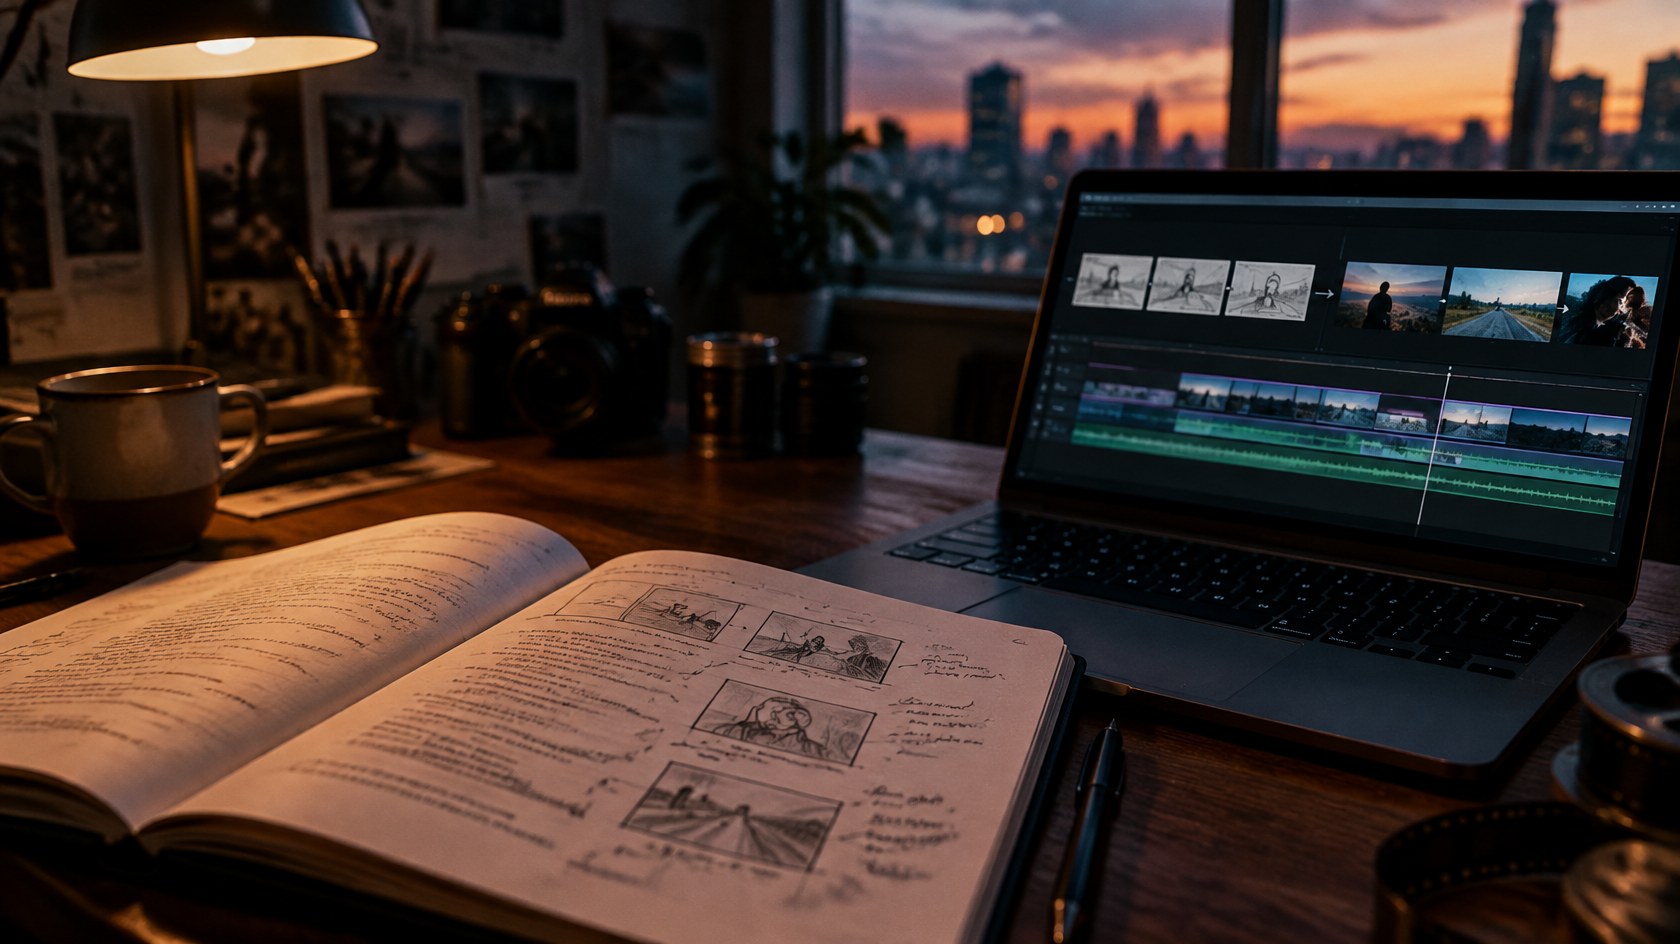
A script to video workflow turns a written scene into finished clips without bouncing between disconnected tools. Instead of drafting a screenplay in one app, sketching shots in another, and prompting video models somewhere else, you keep the script, storyboard, and renders in one pipeline. This guide walks through a practical script-to-video process you can use on MakeFilms—from a clean scene page to approved clips you can assemble into a longer film.
What script to video really means
People use “script to video” to mean a few different things. Some tools turn a short prompt into a single clip. Others take a full screenplay, break it into shots, and generate each shot as video. For filmmakers, the second definition is the useful one. You still write. You still direct. The difference is that every approved panel on the board can become a generated clip with the same characters, locations, and style you already locked in.
That is the idea behind MakeFilms’ script-to-video approach: the AI Director helps shape scenes and shots, a storyboard lets you review framing before you spend credits, and multiple video models are available when you are ready to render. Credit cost is shown before generation so you can decide shot by shot. Finished clips can be assembled into films up to 30 minutes long.
Step 1: Write a scene the camera can shoot
AI video follows visible action. Inner monologue and vague emotion do not. Before you open any generator, rewrite each beat so a camera could capture it:
- Sluglines. INT. COFFEE SHOP – DAY tells the system (and you) where and when we are.
- Consistent names. Call a character Maya every time. “She,” “the woman,” and “Maya” in three consecutive lines confuse continuity.
- Physical beats. “Maya slides the phone across the table, screen up” is shootable. “Maya feels betrayed” is not, unless you show it through a look, a pause, or an insert.
- Dialogue that fits the frame. Short lines cut cleaner than paragraphs. Save exposition for a later insert or a voiceover plan if you need it.
Even half a page of clean scene writing is enough to start. If you are still outlining, draft one confrontation or one quiet establishing scene first. You will learn more from finishing that scene end to end than from outlining an entire feature before you generate a single shot. For a broader overview of the craft, see our complete guide to AI filmmaking.
Step 2: Let the AI Director propose structure
Paste or describe the scene and let the AI Director propose a breakdown: scene order, shot sizes, and a first pass at camera angles. Treat that pass as a draft, not a final cut. Ask yourself:
- Does each shot earn its place, or is the system over-covering a simple beat?
- Is there a clear establishing shot before we jump into coverage?
- Are emotional peaks saved for closer framing?
- Would a reaction shot or insert make the cut land harder?
Style presets help here. Pick a look early—genre, era, and mood—so the board and later clips share one visual language. Changing the global style after you have refined twenty panels costs more time than choosing it first.
Step 3: Storyboard before you spend credits
This is the step most people skip, and it is usually the one that saves the project. An AI storyboard generator turns the shot list into panels you can rearrange, reject, or refine. You can catch a wardrobe mismatch, a broken 180-degree line, or a pacing problem while the fix is still a click—not another paid render.
Review the board as a sequence, not as a pile of pretty frames. Flip through in order while reading the dialogue aloud. If two mediums of the same angle sit next to each other with no new information, cut one. If the climax still looks like a wide master, push in. Our deeper walkthrough, how to use an AI storyboard generator to turn a script into shots, covers framing, screen direction, and common mistakes in more detail.
Step 4: Choose models and approve cost per shot
Not every shot needs the same model or the same settings. Dialogue close-ups, wide establishing shots, and action beats often benefit from different strengths across multiple video models. MakeFilms shows credit cost before generation so you can approve expensive shots deliberately and keep simpler inserts cheaper.
A practical rule: generate the hardest continuity shots first—hero close-ups and key establishing frames—then fill coverage. If a character’s face or a location drifts, fix the reference and regenerate that shot before you cascade the error across the rest of the scene.
Step 5: Assemble scenes into a longer film
Once clips are approved, assemble them in scene order. Keep cuts motivated: enter late, leave early, and use inserts when geography gets muddy. Films on MakeFilms can run up to 30 minutes when you build scene by scene rather than trying to force a single long prompt to do everything.
If your goal is a short film or a multi-scene piece, plan runtime as a series of 5–10 second clips with intentional transitions, not as one continuous generation. The companion post how to make a long AI film (up to 30 minutes) goes deeper on pacing, holds, and stitching scenes without losing continuity.
A simple script to video checklist
- Rewrite the scene for visible action and consistent character names.
- Let the AI Director propose shots, then cut anything that does not earn its place.
- Lock a style preset before refining individual panels.
- Approve the storyboard as a sequence before you generate video.
- Check credit cost per shot and generate high-risk continuity shots first.
- Assemble approved clips scene by scene toward your target runtime.
Common script to video mistakes
- Prompting without a script. A vague idea produces vague coverage. Write the scene first.
- Skipping the board. Every unreviewed panel is a credit you might waste.
- Changing character descriptions mid-scene. Lock references early and reuse them.
- Generating everything at once. Approve scene by scene so one bad look does not spoil the reel.
- Ignoring cost until the end. Seeing credit cost before generation is a feature—use it as a budgeting tool.
Where MakeFilms fits in the pipeline
MakeFilms is built as AI filmmaking software for this exact loop: AI Director for structure, storyboard for planning, style presets for a consistent look, multiple video models for rendering, credit costs shown up front, and assembly into films up to 30 minutes. Plans are paid, starting from $19/mo—see pricing for current options. For more guides and product notes, browse the MakeFilms blog.
Try a script to video scene today
Pick one page you care about—a dialogue beat, a chase open, a quiet establish—and run it through the full loop: write, board, approve, generate, assemble. Start a project in MakeFilms and turn that page into shots you can actually watch.