AI Video Models
How to Choose AI Video Models for Filmmaking
Match AI video models to dialogue close-ups, wides, and action—storyboard first, lock style presets, and approve credit cost before you generate.
By MakeFilms Editorial · 5 min read ·
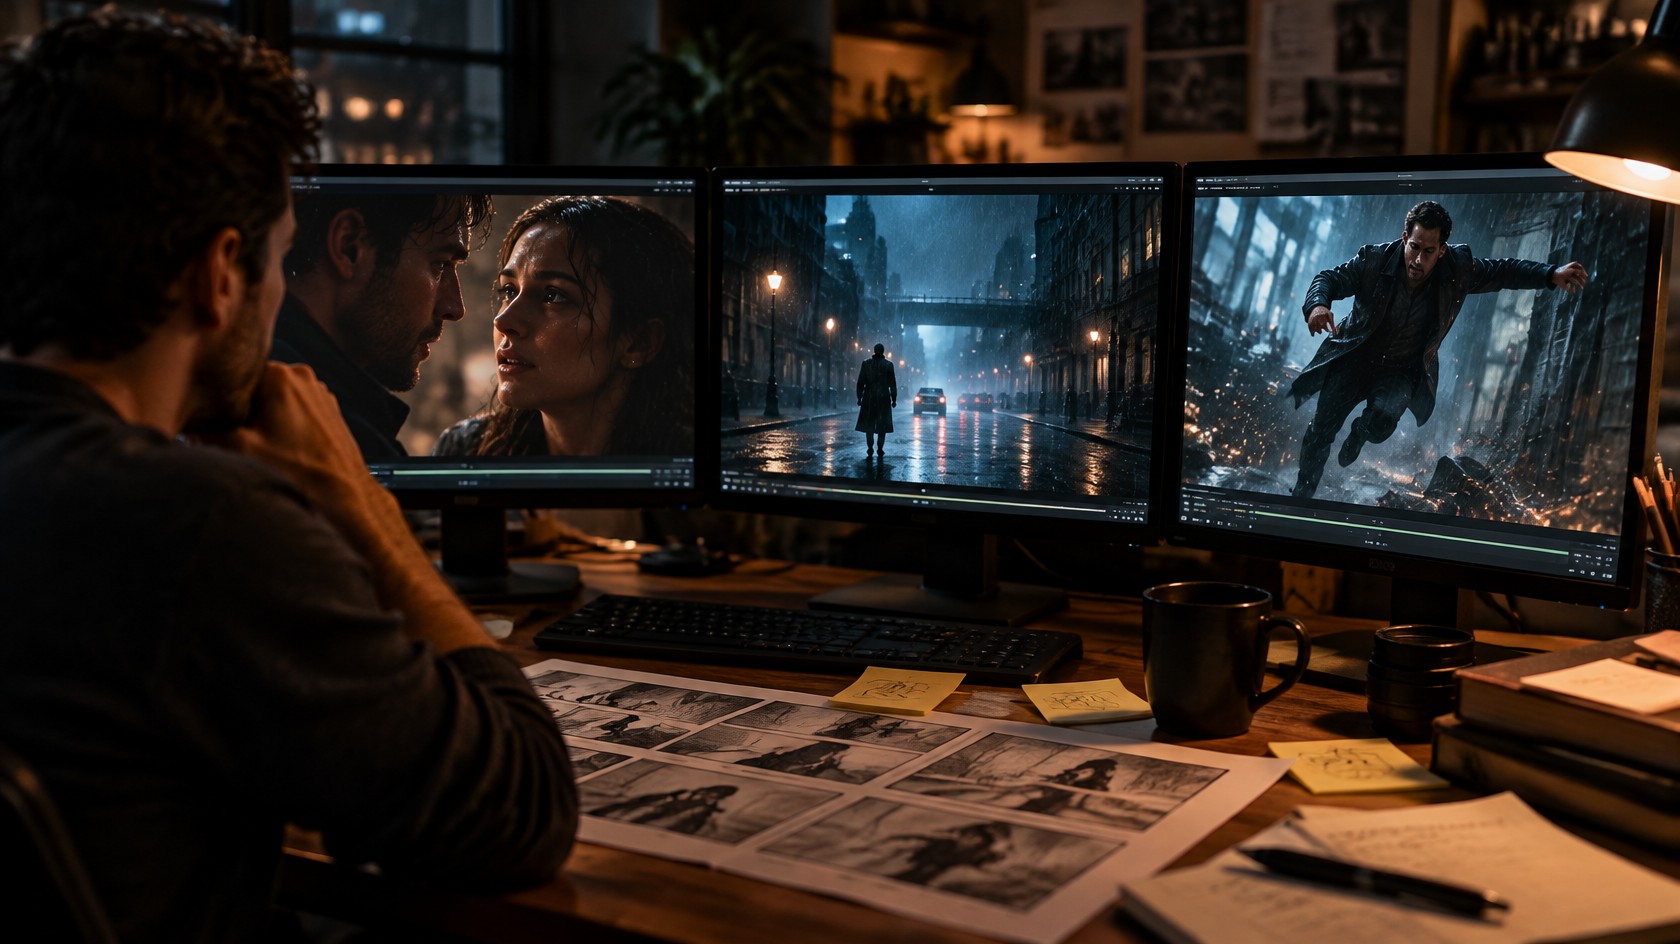
Choosing among AI video models is less about picking a single "best" model and more about matching each shot to the right strengths. Dialogue close-ups, wide establishing frames, and action beats ask for different things from a generator. This guide walks through a practical way to choose AI video models for filmmaking on MakeFilms—so you spend credits where they matter and keep continuity across a scene.
What "AI video models" means for filmmakers
An AI video model turns a prompt (and often a reference image or storyboard panel) into a short clip. Different models trade off face fidelity, motion smoothness, camera control, and how well they hold style across cuts. In a real scene you rarely need one model for every shot. You need a shortlist you understand, then a deliberate pick per beat.
MakeFilms gives you AI filmmaking software with multiple video models in one pipeline: the AI Director helps structure scenes, a storyboard lets you plan framing first, style presets lock a look, and credit cost is shown before generation so you approve each render on purpose. Approved clips can be assembled into films up to 30 minutes.
Start with the shot, not the model
Before you open the model picker, decide what the shot must deliver:
- Dialogue close-ups. Face consistency, lip motion that feels natural enough for the cut, and emotional clarity in the eyes.
- Wides and establishing shots. Geography, atmosphere, and camera move that sells place—less pressure on a single face.
- Action and kinetic beats. Motion coherence, impact framing, and readable screen direction across a few seconds.
- Inserts and cutaways. Simple subjects (hands, props, screens) that can stay cheaper while hero shots carry the budget.
Write the beat so a camera could shoot it, then storyboard. An AI storyboard generator turns the shot list into panels you can reject before any video credits are spent. That order—script, board, then model—prevents "pretty but wrong" renders.
How to choose AI video models shot by shot
Think of model choice as coverage strategy, not brand loyalty.
Dialogue and performance
For close-ups and over-the-shoulders, prioritize models that hold character likeness when you feed consistent references. Lock character and location photos early, reuse them, and generate the hardest face shots first. If a face drifts, fix the reference and regenerate that panel before you cascade the error through the rest of the scene.
Wides and atmosphere
Establishing shots care more about lighting continuity with the rest of the scene and a camera move that matches your board. Match the style preset you already chose so the wide does not look like a different film from the close-ups. If the board already shows the composition you want, prefer models that respect image-to-video guidance over freeform text-only prompts.
Action and motion
Action clips fail when limbs smear or screen direction flips mid-cut. Keep action beats short, storyboard the entry and exit frames, and avoid packing too much choreography into one generate. A clean 5–8 second hit cut against a reaction often reads better than a busy 10-second mash of moves.
Inserts on a budget
Not every shot needs your most expensive model. Phone screens, door handles, and empty hallway holds can use lighter settings once the hero shots lock the look. Seeing credit cost before generation is the budgeting tool—use it shot by shot instead of rendering an entire scene at the highest tier by default.
Continuity beats model hopping
Switching models mid-scene only works if style, wardrobe, and lighting still match. Practical rules:
- Pick a style preset before refining panels so the board and every model share one visual language.
- Keep character and location references authoritative; do not let a generated face silently replace your uploaded refs.
- Generate high-risk continuity shots first (hero close-ups, key establishes), then fill coverage.
- Approve cost before each generate so expensive retries are deliberate, not accidental.
If you are building beyond a single scene, plan runtime as sequences of short clips with intentional transitions. The companion guide how to make a long AI film (up to 30 minutes) covers assembling scenes without losing continuity.
A simple decision checklist
- Is this a face-critical close-up, a wide, action, or an insert?
- Do I already have a locked style preset and character/location refs?
- Have I approved the storyboard panel so framing is right before I spend credits?
- What does credit cost show for this shot—and is a cheaper model enough?
- If this render fails continuity, will I fix the reference before regenerating neighbors?
For the full pipeline from page to assembly, see our practical script to video workflow and the broader complete guide to AI filmmaking. Storyboard framing details live in how to use an AI storyboard generator to turn a script into shots.
Where MakeFilms fits
MakeFilms is built for this loop: AI Director for structure, storyboard before spend, style presets for a consistent look, multiple video models for rendering, credit costs shown up front, and assembly into films up to 30 minutes. Plans are paid, starting from $19/mo—see pricing for current options. Browse more guides on the MakeFilms blog, or open the script-to-video path when you are ready to turn a scene into shots.
Try choosing models on a real scene
Pick one short scene—a two-hander dialogue, a rainy establish, a chase open—and run it through the board first. Then choose AI video models per shot, approve the credit cost, and generate only what you have already directed. Start a project in MakeFilms and build the scene with intentional model choices instead of one-size-fits-all renders.