Cinematic Techniques
Camera Angles for AI Video: A Shot Guide for Filmmakers
Learn the shot sizes, camera angles and moves that make AI video feel directed, plus how to write them into prompts and plan a full scene.
By MakeFilms Editorial · 8 min read ·
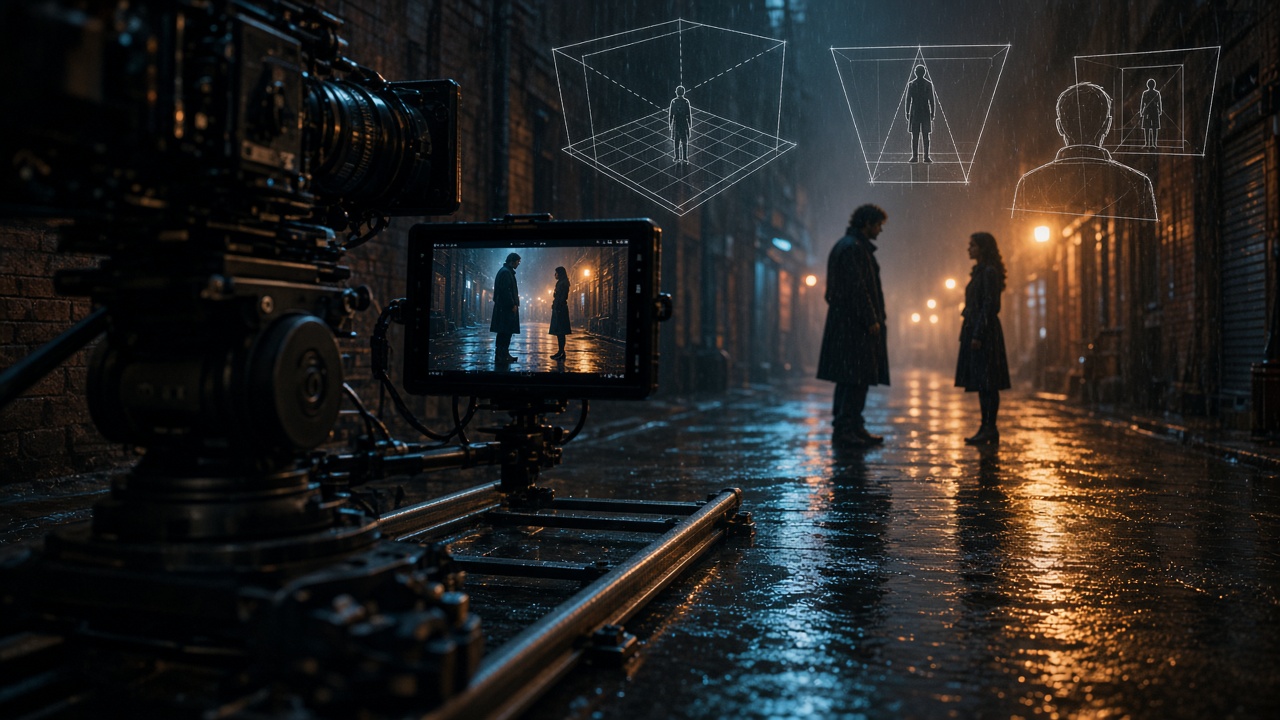
Knowing the right camera angles for AI video is the fastest way to make generated footage feel directed instead of random. Most AI clips look flat for one reason: every shot is a medium, eye-level view of a character standing in the middle of the frame. Real films change size, height and perspective from shot to shot, and each change tells the audience how to feel. This guide walks through the shot sizes and angles that matter most, how to describe them so a video model actually follows them, and how to plan them across a whole scene before you spend a single credit.
Why camera angles for AI video matter more than you think
In live action, a cinematographer makes dozens of small choices on set. In AI filmmaking, nobody makes those choices unless you write them down. If your prompt says "a detective walks into a bar," the model picks a framing for you, and it usually picks the most generic one. If your prompt says "low-angle wide shot, the detective framed in the doorway against neon light," you get a shot with intent.
Angles also do the heavy lifting for continuity and pacing. Cutting from a wide to a close-up signals importance. Repeating the same framing three times in a row makes a scene feel stuck. When you plan shots deliberately, your film reads as one piece rather than a pile of nice clips. If you are new to the overall process, start with our complete guide to AI filmmaking, then come back here to sharpen your shots.
Shot sizes: how much of the world the audience sees
Shot size is about distance. It controls how much context the viewer gets versus how much emotion they read on a face.
- Extreme wide shot (establishing shot): shows the location and the character's place in it. Use it to open a scene or a new location: a city skyline, a desert road, a lone house on a hill.
- Wide shot (full shot): the full body of the character with some surroundings. Good for action, blocking and showing how characters move through space.
- Medium shot: roughly waist up. The workhorse of dialogue and everyday moments.
- Medium close-up: chest up. More intimate, while still keeping some body language.
- Close-up: the face fills most of the frame. Use it for reactions, decisions and emotional beats.
- Extreme close-up: eyes, hands, a key object. Use it sparingly for emphasis, like a finger hovering over a button or a letter being torn.
A simple rule for AI video: name the shot size first in every prompt. Models respond more reliably when framing comes at the start of the description instead of buried at the end.
Camera angles: where the camera sits
Angle is about height and perspective. The same close-up feels completely different from above or below.
- Eye level: neutral and honest. The default for most conversations.
- Low angle: the camera looks up at the subject, making them feel powerful, threatening or heroic.
- High angle: the camera looks down, making the subject feel small, vulnerable or overwhelmed.
- Overhead (bird's-eye view): straight down from above. Great for graphic compositions, crime scenes, tables and maps.
- Dutch angle (canted frame): the horizon is tilted. Signals unease, madness or disorientation. Use it rarely or it loses its punch.
- Over-the-shoulder: framed from behind one character looking at another. The backbone of dialogue scenes because it keeps both people connected.
- Point of view (POV): the camera becomes the character's eyes. Strong for suspense and discovery.
Camera movement: adding motion with purpose
Video models can also follow movement instructions. Keep movement simple and describe one move per shot.
- Static: a locked-off camera. Calm, observational and often the most stable result from AI generators.
- Slow push in (dolly in): the camera moves toward the subject, building tension or realization.
- Pull out (dolly out): reveals context or leaves a character isolated.
- Pan and tilt: the camera turns horizontally or vertically from a fixed spot, following action or revealing space.
- Tracking shot: the camera travels alongside a moving character.
- Handheld: slight natural shake for urgency or documentary feel.
Asking for several moves in one short clip ("orbit, then push in, then tilt up") tends to produce muddled motion. Split complex moves into separate shots and let the edit do the work.
How to write camera directions in an AI video prompt
A reliable prompt structure looks like this:
- Shot size and angle: "Low-angle medium close-up"
- Subject and action: "of Mara, a tired paramedic in a reflective jacket, lowering her radio"
- Setting and light: "on a rain-soaked street at night, red ambulance lights flickering"
- Camera movement: "slow push in"
- Mood or style: "gritty, cinematic, shallow depth of field"
Put together: "Low-angle medium close-up of Mara, a tired paramedic in a reflective jacket, lowering her radio on a rain-soaked street at night, red ambulance lights flickering, slow push in, gritty cinematic look, shallow depth of field."
Keep character descriptions consistent across shots. If Mara wears a reflective jacket in shot one, say so in every shot she appears in. Our post on how to write a script for AI video covers character bibles and visual beats in more detail.
Plan a scene with a shot list, not one prompt at a time
The biggest upgrade most creators can make is to stop generating shot by shot and start planning the whole scene first. Here is a classic pattern that works for almost any dialogue or tension scene:
- Establishing wide: where are we?
- Medium two-shot: who is here and how do they relate?
- Over-the-shoulder on character A, then on character B: the conversation.
- Close-up reaction: the emotional turn.
- Insert (extreme close-up): the important object or detail.
- Wide or high-angle exit: the consequence, often leaving one character alone.
Writing this out as a storyboard lets you check variety before you generate. If four shots in a row are medium eye-level, you will spot it immediately. An AI storyboard generator makes this quick: you can turn script beats into a sequence of framed shots and adjust angles while it is still cheap to change your mind. We walk through that process step by step in how to turn a script into shots.
Matching angles to genre and emotion
- Thriller and noir: low angles, hard side light, Dutch angles at moments of doubt, POV shots for discovery.
- Drama: mostly eye level, patient medium shots, close-ups saved for the turning point.
- Action: wides to show geography, tracking shots, quick inserts for impact.
- Horror: high angles that make characters small, long static shots, slow push-ins toward doorways.
- Comedy: wider frames so the audience can see the physical gag and the reaction in one shot.
Style presets can help keep the look consistent while your angles change, so a noir film stays noir even as you cut from an overhead shot to an extreme close-up.
Common mistakes to avoid
- Every shot is a medium: vary size at least every two or three shots.
- Breaking the 180-degree rule: in a two-person scene, keep the camera on one side of the line between them so characters do not appear to swap places. Mention screen direction ("Mara on the left, facing right") in your prompts.
- Too much movement: one clear move per shot beats three competing ones.
- Angles without a reason: ask what each shot should make the viewer feel. If you cannot answer, use a simpler framing.
- Inconsistent descriptions: changing a character's outfit wording between shots invites the model to change the outfit too.
Putting it together in MakeFilms
MakeFilms is built around this way of working. The AI Director helps break your script into scenes and shots, the storyboard lets you review framing and order before anything renders, and you can choose between multiple video models depending on the shot. Style presets keep the look consistent, and the credit cost is shown before each generation so you always know what a shot will cost. When your scenes are planned, you can build films up to 30 minutes long, which we cover in how to make a long AI film.
Ready to direct your next scene with intent? Start a project in MakeFilms, plan your shot list on the storyboard, and turn your script into a film. Plans start at $19/month; see pricing for details.